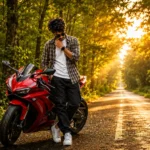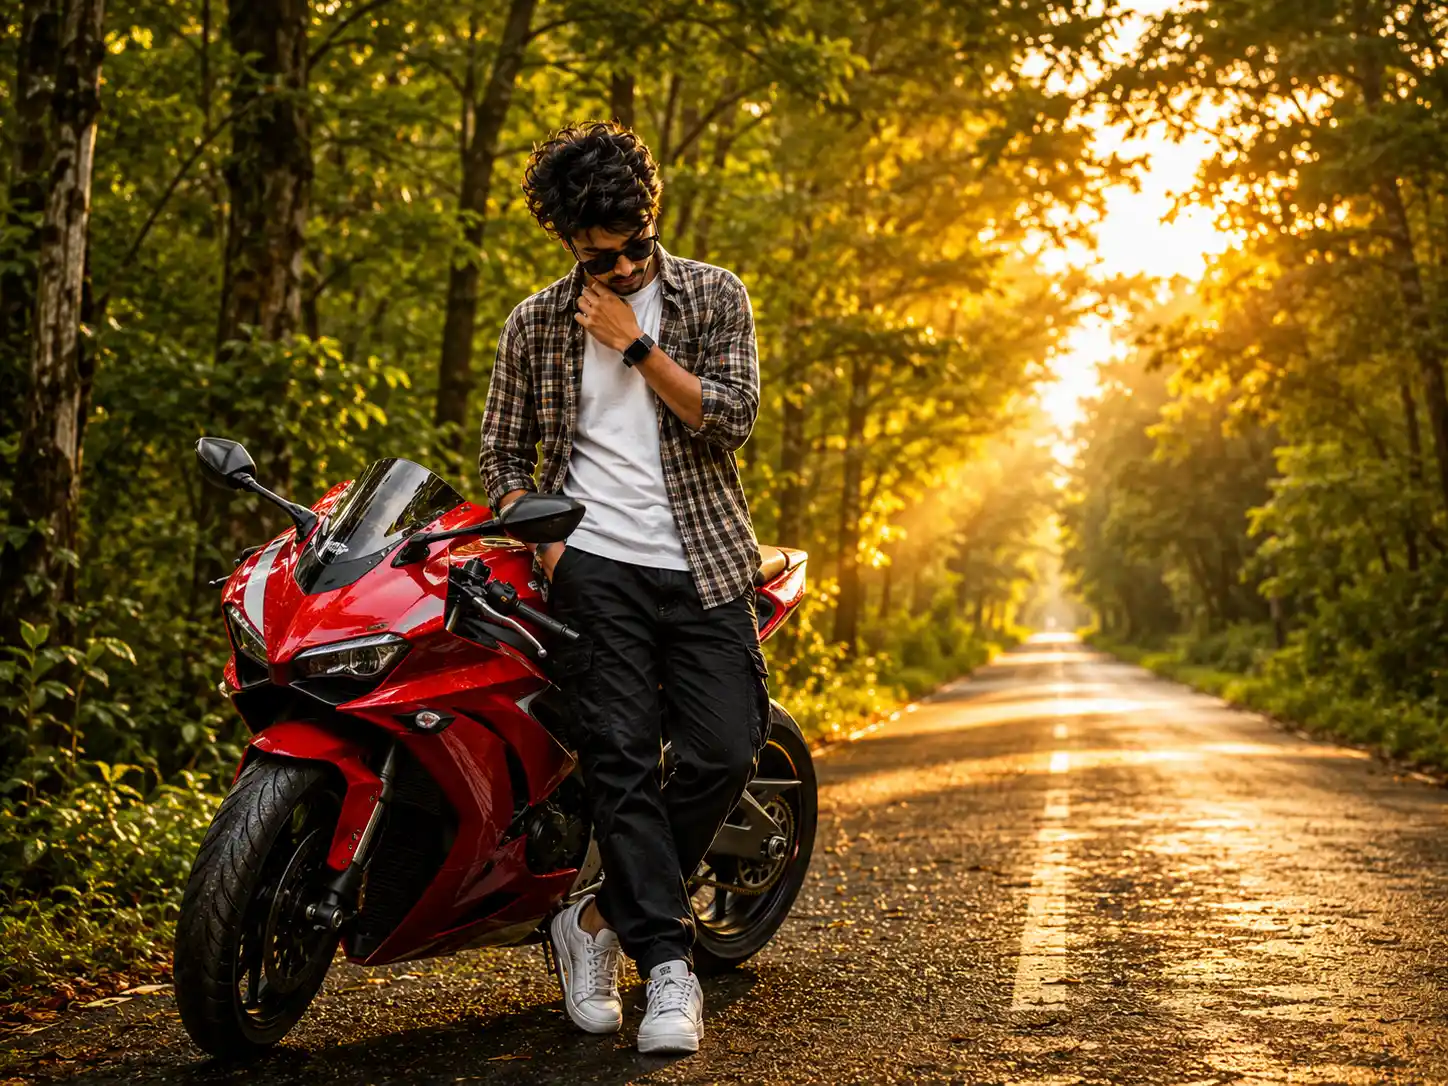
Golden Forest Road Photo Editing Prompt – Forest road locations par li gayi photos natural greenery aur scenic atmosphere ke karan pehle se hi kaafi aakarshak dikhai deti hain.Agar inhe Bihar Preset se inspired Lightroom color grading ke saath edit kiya jaye, to ek normal outdoor shot bhi premium cinematic look hasil kar sakta hai.
Is guide mein aapko Lightroom ki zaroori settings ko step by step samjhaya jayega, jisse aap apni travel, bike ride aur nature photography ko aur bhi vibrant, balanced aur eye-catching bana sakenge. Yeh Bihar Preset inspired editing style Instagram Reels, profile pictures, YouTube thumbnails aur outdoor portrait photography ke liye kaafi popular hai. Warm golden tones, rich contrast aur natural color balance ki madad se aap apni images ko ek professional aur aesthetic finish de sakte hain.

Golden Forest Road Photo Editing Without Photo Reference Prompt

Basic Panel Settings
Start your editing by adjusting the Basic panel. These settings help create a balanced image while giving it a warm cinematic atmosphere.
- Exposure: +0.40
- Contrast: +30
- Highlights: -60
- Shadows: +45
- Whites: +20
- Blacks: -25
These adjustments improve the overall lighting, recover bright areas, and add depth to the image. The result is a clean, well-balanced photo with a soft cinematic glow.
Color Panel Settings
To achieve the signature Bihar Preset look, fine-tune the color settings as follows:
- Temperature: +18
- Tint: +5
- Vibrance: +25
- Saturation: -5
Increasing the temperature adds a warm golden tone, while extra vibrance makes natural colors look richer without appearing oversaturated. A slight reduction in saturation keeps the overall color palette smooth and professional.
HSL Panel Settings
Green
- Hue: -15
- Saturation: +20
- Luminance: +10
Yellow
- Hue: -10
- Saturation: +15
Blue
- Saturation: -40
These HSL adjustments make the trees and surrounding greenery appear more vibrant while giving the sunlight a warm golden feel. Lowering the blue saturation helps remove unwanted cool tones, resulting in a cleaner cinematic appearance.
Masking Tips for a Professional Finish
Sky Mask
Apply a Sky Mask and slightly reduce the highlights. This preserves cloud details and prevents the sky from becoming too bright.
Radial Mask
Place a radial mask around the sunlight and gently increase the exposure. This creates a natural-looking golden glow and adds depth to the lighting.
Subject Mask
Use Subject Masking to slightly boost brightness, clarity, and texture. This helps the person stand out while keeping the background natural.
Why This Bihar Preset Edit Looks So Attractive
This editing style is popular because it combines warm colors with natural contrast to create a cinematic outdoor look. It works especially well for forest and travel photography.
Key Benefits
- Creates a beautiful golden-hour cinematic effect.
- Makes green landscapes appear rich and vibrant.
- Adds depth and contrast without making the image look unnatural.
- Perfect for travel, bike, and outdoor lifestyle photography.
- Produces an eye-catching aesthetic suitable for Instagram, Facebook, and YouTube content.
Best Photos for This Lightroom Bihar Preset
You can use these settings on many different types of outdoor images, including:
- Forest road photography
- Bike riding portraits
- Travel photography
- Nature landscapes
- Golden hour outdoor portraits
- Sunset photography
- Instagram Reel cover photos
- Adventure and road trip images
Ye editing settings warm golden lighting, rich greenery, aur balanced contrast ke combination se ordinary outdoor photos ko bhi premium cinematic appearance de sakti hain. Agar aap Lightroom me natural color grading pasand karte hain, to ye Bihar Preset inspired settings aapki travel aur outdoor photography ko ek professional finish dene me madad kar sakti hain.